

When sent to print indesign searches for the high resolution image using the information in this tool box, the reason behind Indesign working in this way is due to the running quality of the program. By this we mean that if we use high resolution images the program will run slower, using low resolution images it allows for program to run smoothly.
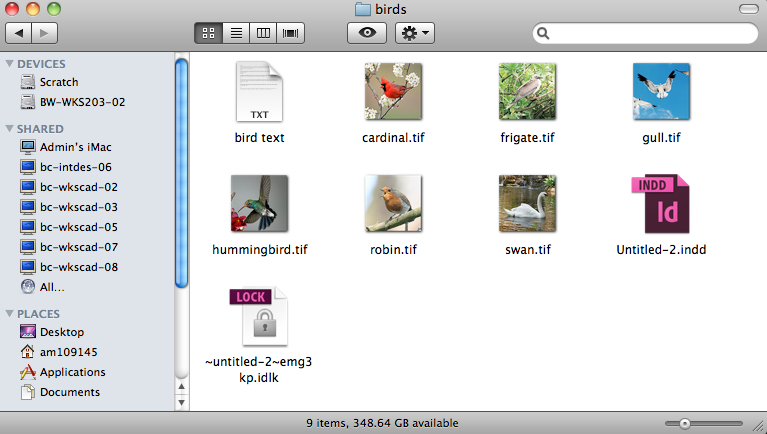
When using Indesign you should put the Indesign document in the same folder as all files used within the document, ie. indesign document and image files in the same folder.

In order to resize an image we need to go to file and place and then select the document.

Adjust the image to the size wanted to fit on the page. However if alterations are wanting to be made this link option is very useful in indesign as you can click on the image then click on the side bar then to adobe photoshop.

Click on the Photoshop program which should be set as default.

This will then open the image in Adobe Photoshop ready for editing of the image from indesign.

We can then change the size of the image from what it was to 29% which is the new percentage that we want the size to be.

The image should then automatically change in the indesign document, you can configure this by looking in the links information menu and check that the percentage has changed to 100%.
Making area's of an image transparent

Select a tif file and bring into Photoshop, Change the background into a layer. Select an area using the tools and inverse then and then click on the backspace button.

Using the place tool in Indesign bring the photoshop file into Indesign and place onto the page, you will find the transparent areas remain transparent in the Indesign document.

If there is something consistent you want on every page you can use this master page which is shown under the pages tool box to do so such as adding a page number to the page.
Seeing things without guides and margins


By pressing the 'W' key we can see see the page without the margins and guides and see what the document will look like when printed.
To bring certain images back and fourth

In order to bring certain frames back and fourth in terms of bringing them behind or infront of text go to the object menu on the tool bar then select arrange followed by send backwards of forward depending on what you want to do with the frame selected.
To wrap the text around the image

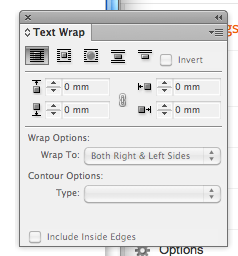
By selecting the frame you want the text to wrap around locate yourself to the window drop down menu at the top select the text wrap option, when the tool box pops up select the second icon at the top which will then allow your frame to be wrapped around the text.
Selecting alpha channel

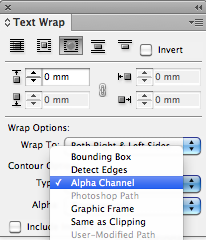
In order to get your image which you have edited to be transparent select the alpha channel button on the text wrap menu after selecting the third icon. The image when moved will then wrap around the text following the edges of the swan.
Simply copy and past the file from illustrator to indesign, as it is a vector file it shouldn't distort when dragging into indesign.
No comments:
Post a Comment